Written By: Christina Newberry
Reviewed By: Gloria Tsang, RD
Title: Registered Dietitian
Last Updated on:
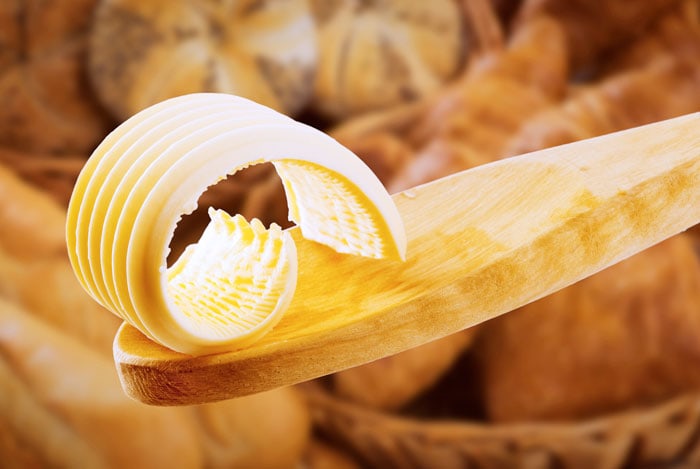
When you pass the dairy case at the grocery store, butter is probably a standard item on your list. Next time you’re at the store, instead of buying butter, why not try buying cream and making your own butter from scratch instead? It’s surprisingly fast and easy, and requires only two ingredients and a food processor! The end result is much tastier than store-bought butter, and you can decide how much salt to use, or even to use herbs or other natural ingredients to make gourmet flavored butters.
Once you’ve made butter, you’ll be stunned at how simple it is, and you’ll want to make it for everyone you know.
Recipe adapted from 200 Easy Homemade Cheese Recipes by Debra Amrein-Boyes of Farm House Natural Cheeses in Agassiz, BC.
The buttermilk left over from your butter making will not look anything like the buttermilk you buy in the store. You’ll have made “traditional buttermilk,” while the buttermilk in the store is called “cultured buttermilk.” It’s made from milk that’s had lactic acid added. You can – and should – use your leftover buttermilk in cooking, but the results will be a bit different than you’d get using store-bought buttermilk because it’s thinner and less acidic. We made pancakes, and found they were less fluffy than they would be with store-bought buttermilk, but equally delicious!
Making butter at home is unbelievably simple and incredibly satisfying. You can custom-tailor your butter to get the exact taste you love, and experiment to create something that’s truly gourmet.
Alumni: University of Victoria – Christina Newberry is a writer and editor whose work has appeared in national and local magazines and newspapers. With a Bachelor’s degree in English and Anthropology from the University of Victoria and a Journalism Certificate from Langara College, Christina brings keen curiosity and the love of a good story to her work with HealthCastle.com.
Christina is a passionate traveler and urban gardener with an interest in vegetarian eating and making good, tasty food from scratch. Sharing lessons learned from her own experiences, Christina writes about lifestyle topics for HealthCastle, with a focus on eating well at home and on the road.
butter, home cooking, how to cook, recipes

Like our content? Sign up and receive a free shopping guide and the first chapter of the GoUndiet Book via email!