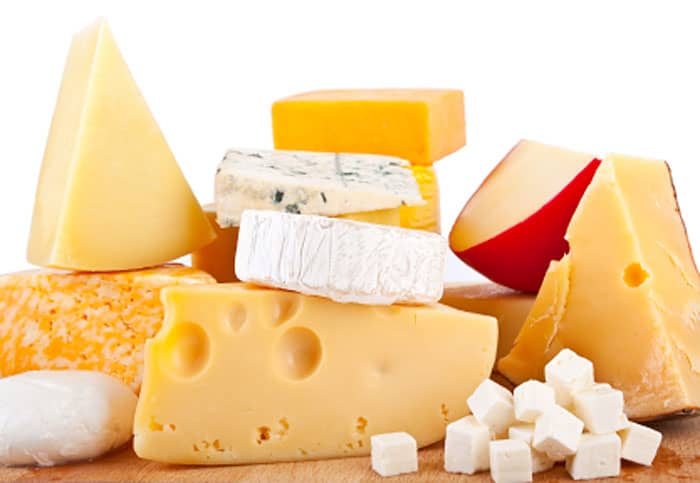
Cheese is something pretty much everyone loves. And it’s easy to pick up a block of cheese from the grocery store. But did you know that you can actually make cheese yourself at home? The end result is delicious, plus, there’s the added benefit that you can control exactly what goes into your cheese when you make it yourself, including adjusting the amount of salt or using vegetarian rennet (and eliminating any artificial additives or preservatives you’d find in the store-bought stuff). If you’ve cut down on cheese because you’re worried about sodium, or because rennet (made from the lining of a calf’s stomach) is not acceptable to you, homemade cheese could be your saving grace!

How to Make Your Own Mozzarella Cheese
Supplies
- Tools: Cheese is very acidic, which means you need to use stainless steel pots and implements, rather than aluminum. This is important, because the cheese-making process can actually cause aluminum to transfer from your pot to your cheese – not a healthy option! Most pots say on the bottom what they are made of. You’ll also need a quick-read cooking thermometer.
- Ingredients: You’ll need milk, of course. You will also need rennet and citric acid. Citric acid can be found in some health food stores, and rennet can be found in gourmet shops or bought online. Iodized salt should not be used to make cheese, as the iodine can affect the color of the cheese. Use pickling or kosher salt instead.
Making Your Own Mozzarella
Mozzarella is an easy cheese to start with, especially using some non-traditional methods (including some time in the microwave). This recipe takes about half an hour start to finish, whereas traditional recipes can take up to two hours of pretty constant work.
- Buy 1 gallon of whole milk (3.25 to 4% milk fat). Do not buy ultra-pasteurized milk, as it will not work. Pasteurized milk is fine.
- Dissolve 1.5 tsp citric acid in 1/4 cup cool water and set aside in a glass or ceramic bowl.
- Dissolve 1/2 tsp. liquid rennet in 1/4 cup cool water and set aside in a glass or ceramic bowl.
- Slowly heat the milk on the stove to 55 degrees, then add the citric acid solution and stir thoroughly (remember to use stainless steel tools).
- Keep heating to 88 degrees. Add the rennet solution and stir gently, continuing to heat until it reaches 100 degrees. Curds should have formed by this point.
- Turn off the heat, and use a slotted spoon to transfer the curds to a microwave-safe bowl.
- Press the liquid (whey) out with your hands, removing as much as possible.
- Microwave on high for one minute, then, with a large wooden spoon, press out more whey. Repeat twice more, but for only 30 seconds in the microwave each time.
- Add 1 tsp kosher or pickling salt for a mild mozzarella or 2 tsp for a more traditional flavor.
- Very carefully, or using rubber gloves (the cheese is hot!), knead the cheese with your hands, and pull and stretch it until it’s smooth. Form it into a ball, wrap, and store in the fridge.
Recipe adapted from Animal, Vegetable, Miracle by Barbara Kingsolver.
What to Do With The Whey Leftover
Once you’ve made your mozzarella, you’ll see that you have a huge amount of whey left over. Whey is what’s left of the milk after the milk solids are removed and turned into cheese. Don’t throw it away – it’s absolutely packed with vitamins and protein!
- Ricotta: One traditional use of the whey is to make ricotta cheese. However, the citric acid used in the mozzarella recipe changes the properties of the resulting whey, meaning you will get a very small amount of ricotta – about 1/3 to 1/2 a cup – and you’ll still have loads of whey left over. If you want to try it, heat they whey up to 200 degrees, allow to cool, then strain through a clean dish towel.
- Baking: Whey can be used instead of water in bread and biscuit recipes.
- Smoothies: Many smoothie shops have the option to add powdered whey protein, but you’ve got the real stuff! Pour some into your smoothie, or freeze the whey as ice cubes for later smoothie use.
Your whey will keep in the fridge or freezer until you are ready to use it.
The Bottom Line
Making cheese at home is an easy and relatively inexpensive way to get more connected to your food, and to customize your cheese to your own tastes and dietary preferences. If you want to move beyond mozzarella, check out 200 Easy Homemade Cheese Recipes.
Alumni: University of Victoria – Christina Newberry is a writer and editor whose work has appeared in national and local magazines and newspapers. With a Bachelor’s degree in English and Anthropology from the University of Victoria and a Journalism Certificate from Langara College, Christina brings keen curiosity and the love of a good story to her work with HealthCastle.com.
Christina is a passionate traveler and urban gardener with an interest in vegetarian eating and making good, tasty food from scratch. Sharing lessons learned from her own experiences, Christina writes about lifestyle topics for HealthCastle, with a focus on eating well at home and on the road.