Written By: Sofia Layarda, MPH
Title: Master of Public Health
Alumni: University of California, Berkeley
Last Updated on:
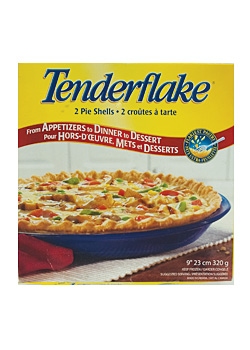
With the holidays approaching, many cooks are gearing up for holiday feasts. Often on the menu is a dessert that makes use of a pie shell. Although it seems very convenient to buy a pre-made pie crust that you can simply pile fillings on, these pre-made crusts often contain extra mystery ingredients you would not find in a homemade recipe, such as modified milk ingredients, tricalcium phosphate, and soybean lecithin. Homemade pie crusts won’t save you any fat or calories over the frozen version, but you’ll know exactly what has gone into your pie shell, and you’ll end up with a tastier, flakier pie crust.
Table of Contents
Here is a comparison between a store-bought frozen pie crust and a homemade version:
|
Tenderflake
(9″ pie) |
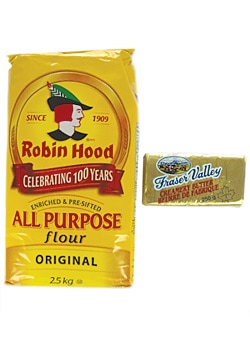
Homemade
(9 1/4″ pie) |
|
|
Serving Size:
|
1/8 pie shell | 1/8 pie shell |
|
Calories:
|
100 kcal | 151 kcal |
|
Protein:
|
2 g | 1.5 g |
|
Fat:
|
6 g | 11.6 g |
|
Saturated Fat:
|
2.5 g | 7.3 g |
|
Trans Fat:
|
0 g | 0 g |
|
Carbohydrate:
|
9 g | 10.4 g |
|
Fiber:
|
1 g | 0.4 g |
|
Sodium:
|
65 mg | 82 mg |
|
Iron:
|
4% DV | 4% DV |
|
Preparation time:
|
27 minutes (15 minutes to pre-heat oven and 12 minutes baking) | 1.5 hours (including resting pie dough in fridge and baking) |
|
Price per serving:
|
$0.27 | $0.18 |
|
Ingredients:
|
Enriched wheat flour, water, lard, modified milk ingredients, dextrose, salt, tricalcium phosphate, soybean lecithin | All-purpose flour, butter, cold water |
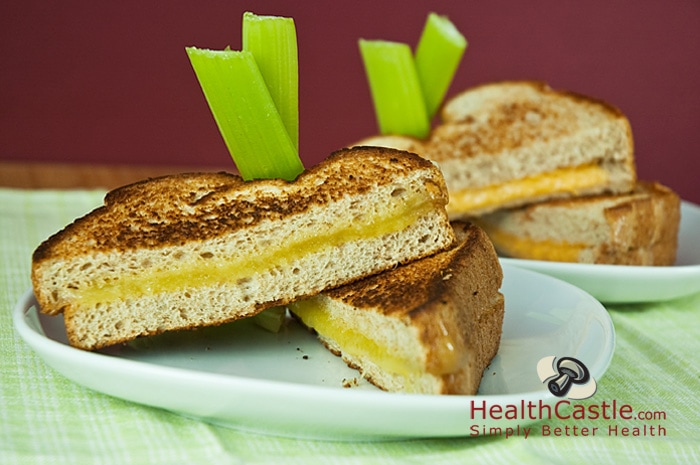
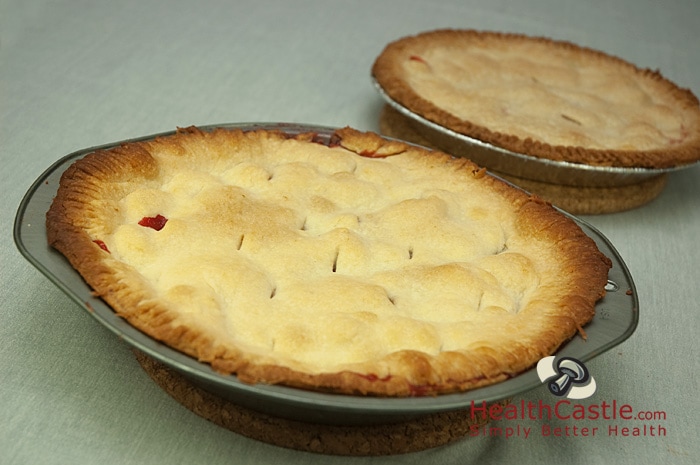
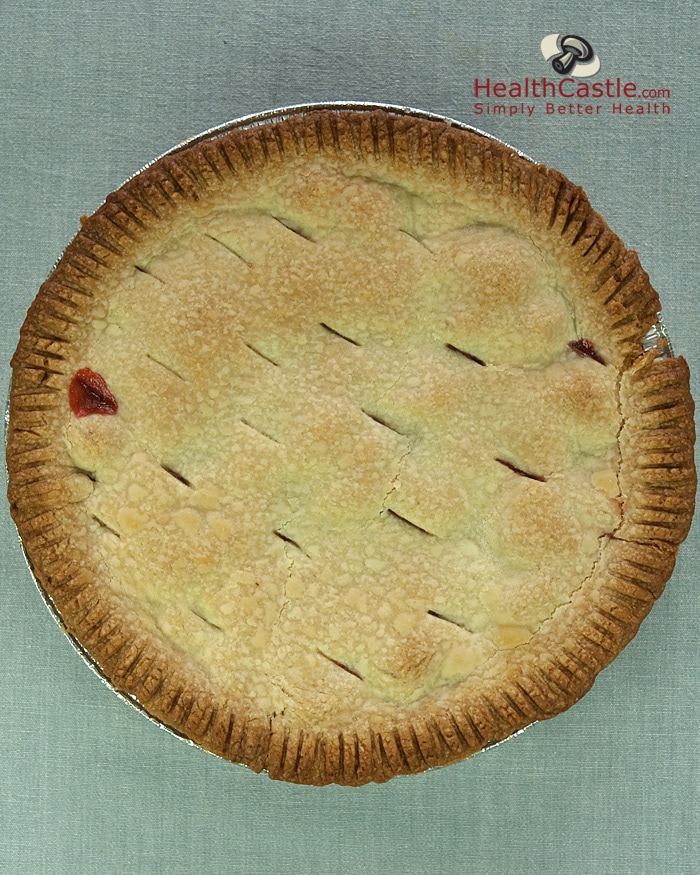
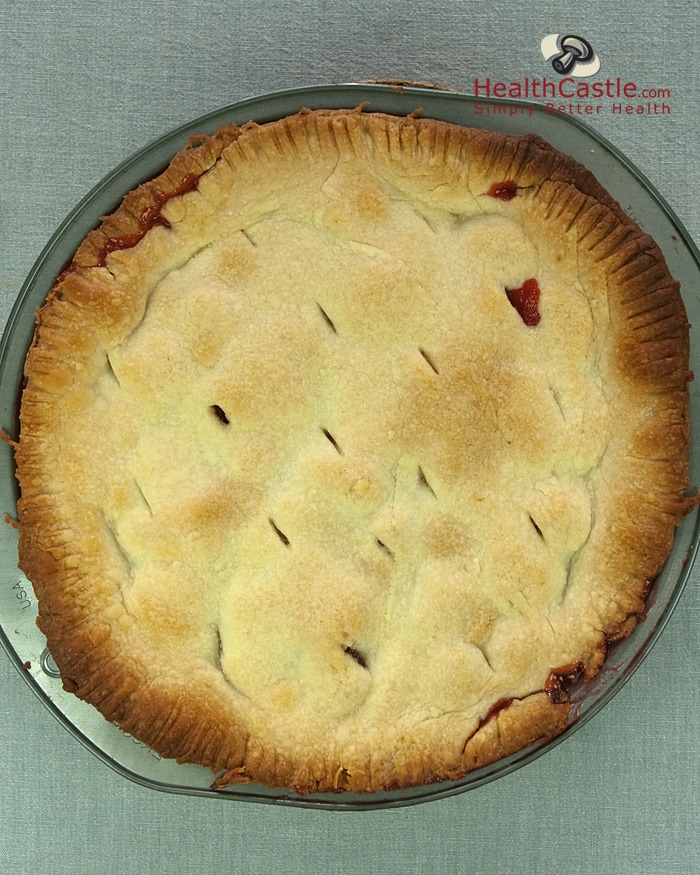
The homemade recipe yielded a much thicker and flakier pie crust, and our pie plate was slightly bigger than the frozen pie shell. This resulted in the higher fat and consequently calorie count for the homemade version. The frozen pie shell was flimsy, and was a torn-up, soggy mess when we tried to cut out a portion of the finished pie. The homemade shell stayed dry and flaky despite the juicy fruit filling, and we easily removed an intact slice complete with the filling. Our version also cost less per serving than the pre-made pie shell.
Whether store-bought or homemade, pie crust is a higher-fat product to be enjoyed only on special occasions. Our goal in making it from scratch is to show you that it is a fairly simple thing to do with a bit of pre-planning. Plus, by skipping the frozen pre-made product, you will cut out food additives from your featured pie for the holidays! In the pre-made pie crust for example, the additive “modified milk ingredients” could be an unpleasant and unexpected surprise for guests with milk allergy.
The homemade pie crust recipe is courtesy of Pim Techamuanvivit’s new book The Foodie Handbook. The recipe yields two 10-inch pie shells, so we had a little bit of leftover dough due to our smaller pie plate. We used a basic homemade fruit filling (made with fresh strawberries, sugar, cinnamon, and flour) for the purposes of the photo but, since it was the same for both pies, did not include the nutritional value of this in our analysis.
For the pie crust
Makes two 10-inch pie crusts
Alumni: University of California, Berkeley – Sofia believes in bringing back fun and pleasure into everyday eating. She loves cooking, and is constantly experimenting with ingredients, creating recipes and trying them out on family and friends. Her latest interest lies in finding realistic and practical ways of environmentally-friendly food/eating habits.
baking, dessert, home cooking, no more packaged foods, pie crust, recipes

Like our content? Download our free shopping guide and the first chapter of the GoUndiet Book Now!


HealthCastle Nutrition Inc. · © Copyright 1997-2026 · All rights reserved