Written By: Christina Newberry
Reviewed By: Gloria Tsang, RD
Title: Registered Dietitian
Last Updated on:
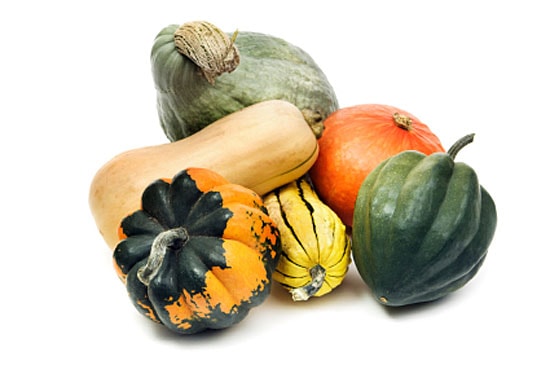
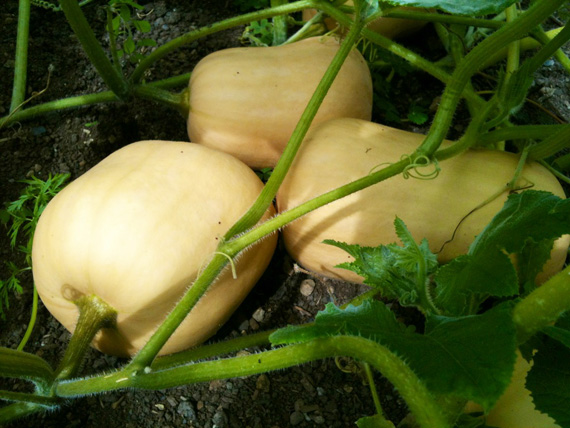
It may seem way too early to start thinking about anything to do with winter, but when it comes to your garden, the end of summer marks the beginning of winter activities, from planning for your winter garden to harvesting your winter squash. Like their summertime cousin, zucchini, winter squash plants can be prolific. To make the most of your winter squash harvest, you’ll need to store the squash properly. Proper storage can ensure your squash lasts two to three months – and sometimes even longer – so your end of summer/early fall harvest could end up on your Thanksgiving or Christmas table!
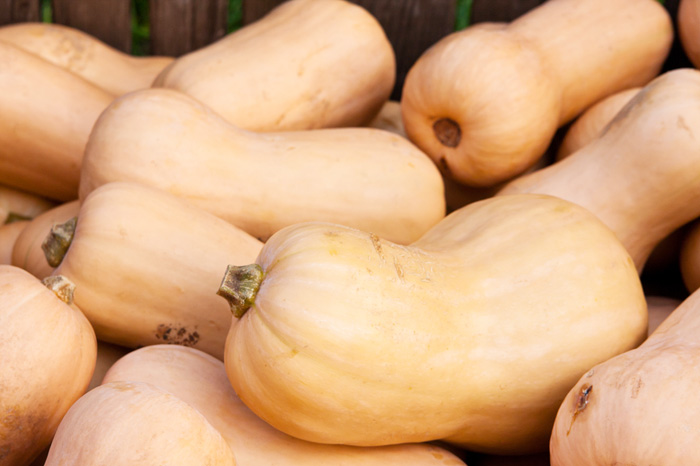
Table of Contents
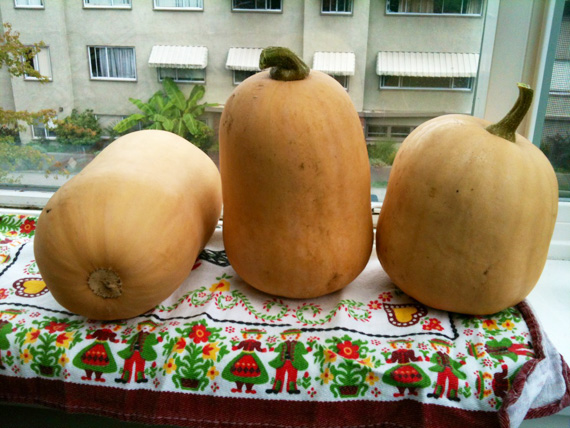
Before you put your squash away for storage, you need to cure it*. Curing allows the skin of the squash to firm up even further and for the cut stem to form a hard seal. Simply brush off any dirt (don’t wash or get the squash wet), then place the squash in a warm, sunny window (or sunny spot outside if there is no chance of rain).
After about two weeks, move the squash to a cool room – about 50 degrees Fahrenheit (10 Celsius) – for long-term storage. Ensure all sides of the squash are exposed to good airflow by storing on slatted shelves or by placing layers of dry straw around and between layers of squash in a box or basket.
Some believe a chlorine wash before curing prevents spoilage and prolongs the squash’s storage life. If you’d like to try it, wipe the squash’s skin in a mild bleach solution, about 1 part bleach to 10 parts water.
*Note: Don’t cure acorn squash. It should go straight into cool storage.
Sometimes, you may have so much squash that even the long shelf life might not be enough to get through it all. If you’re worried you won’t be able to eat all of your squash before it starts to rot, you can always freeze it to keep you going right through into spring.
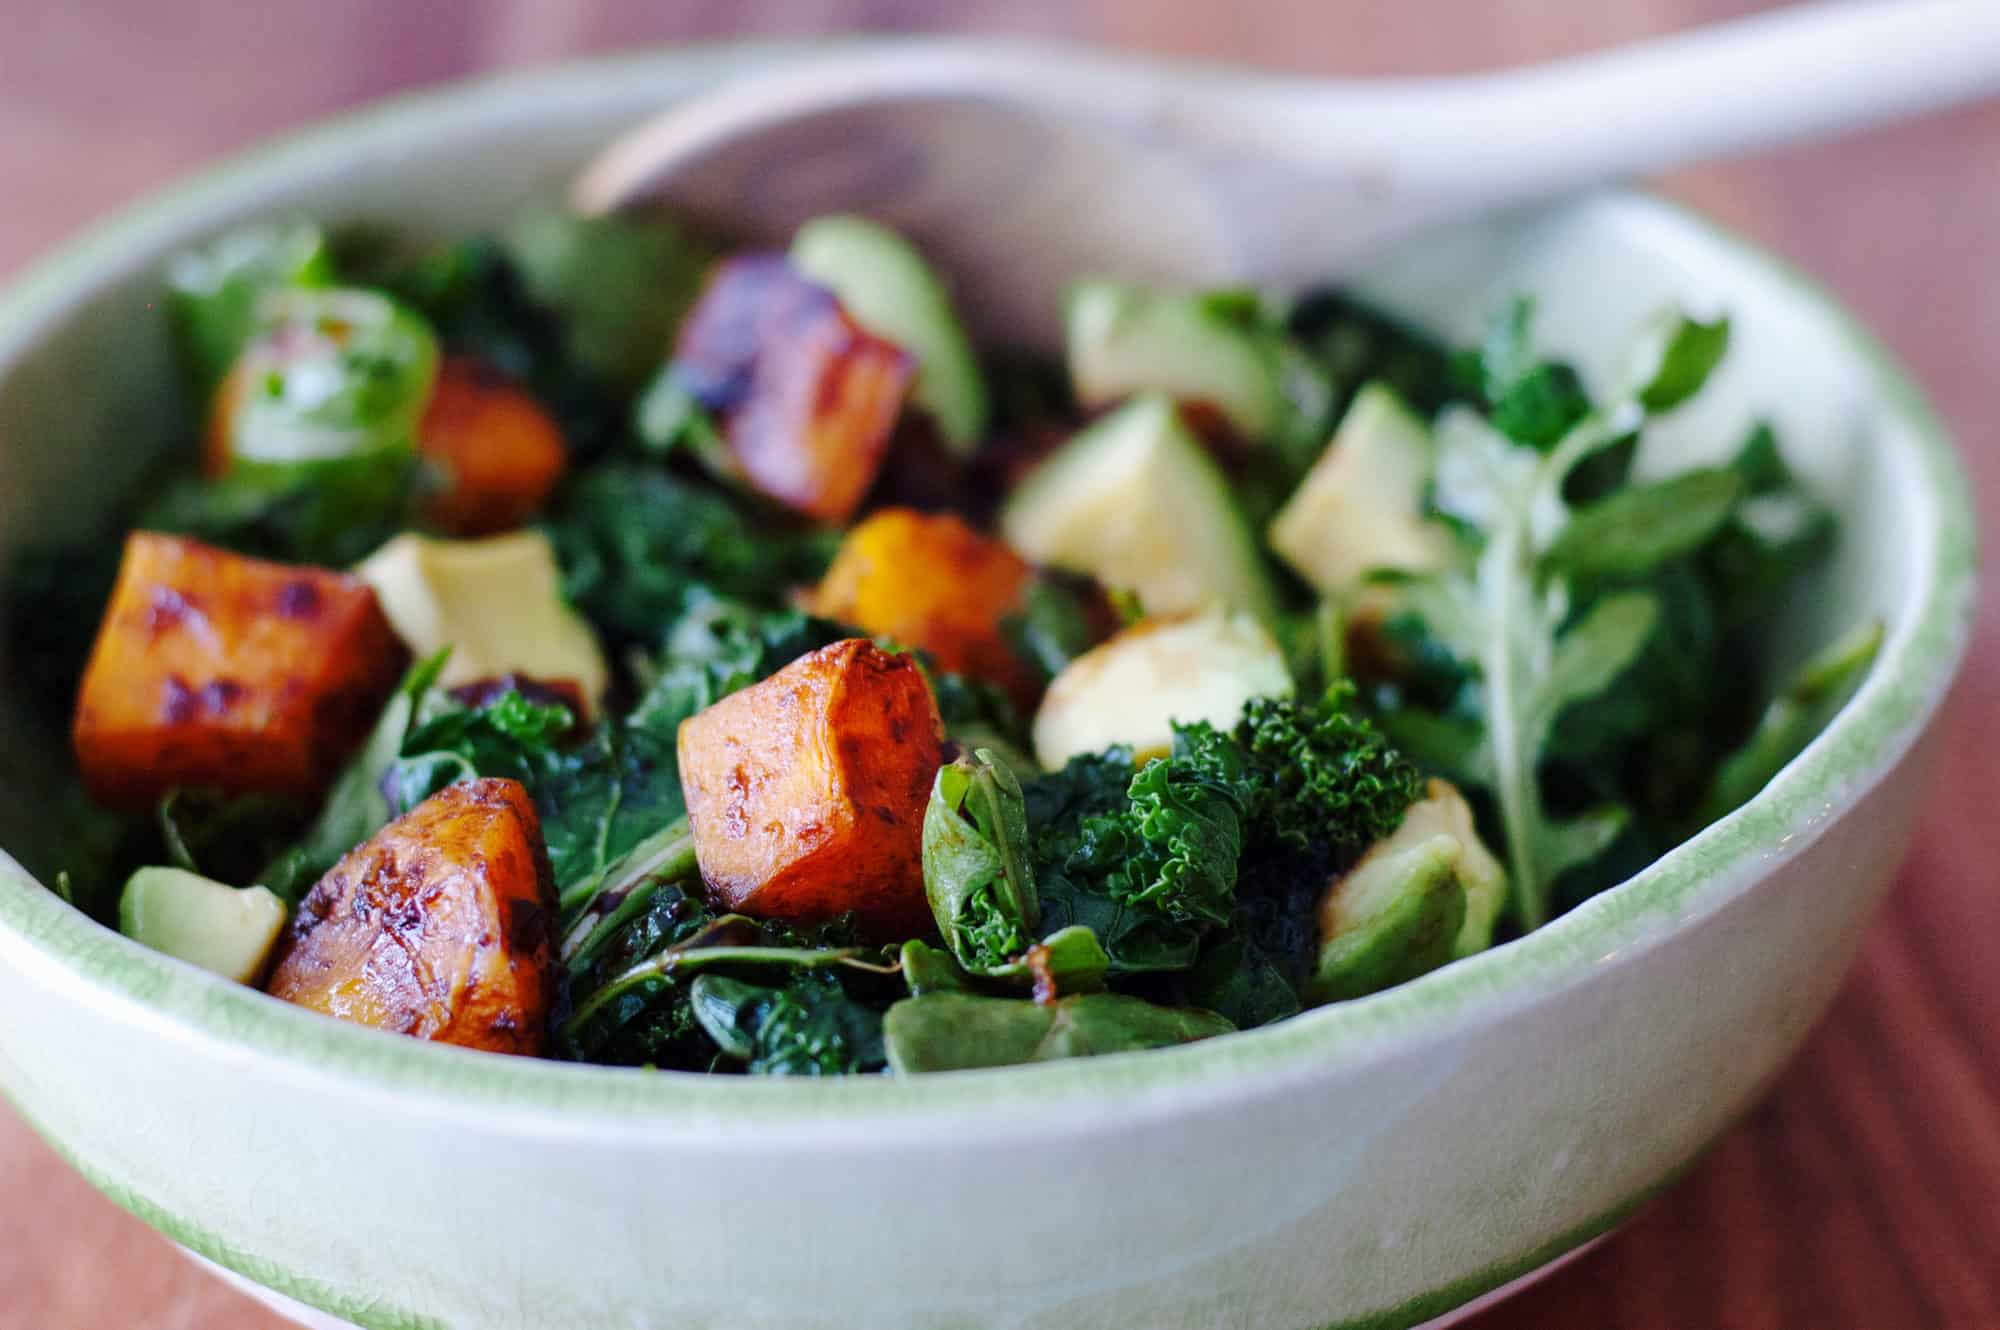
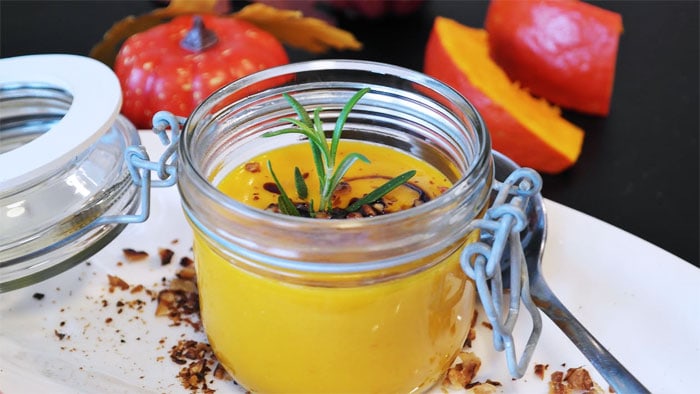
You can freeze winter squash as either cubes or puree, depending on how you’re most likely to use it. Puree can be used in breads, soups, and so on, but cubes are better for risotto, stir-fries, salads, and pastas.
Winter squash is one of the summer garden’s most long-lasting rewards. Invest the time to store your squash properly to get the most out of your harvest!
Photo Credits: Christina Newberry
Alumni: University of Victoria – Christina Newberry is a writer and editor whose work has appeared in national and local magazines and newspapers. With a Bachelor’s degree in English and Anthropology from the University of Victoria and a Journalism Certificate from Langara College, Christina brings keen curiosity and the love of a good story to her work with HealthCastle.com.
Christina is a passionate traveler and urban gardener with an interest in vegetarian eating and making good, tasty food from scratch. Sharing lessons learned from her own experiences, Christina writes about lifestyle topics for HealthCastle, with a focus on eating well at home and on the road.
butternut squash, harvest, squash, vegetable gardening, winter

Like our content? Download our free shopping guide and the first chapter of the GoUndiet Book Now!


HealthCastle Nutrition Inc. · © Copyright 1997-2026 · All rights reserved